Setting Up Your Dometic CFX for the First Time: A Step-by-Step Guide
Introduction
Purchasing a Dometic CFX refrigerator is a significant upgrade for any outdoor enthusiast, offering unparalleled cooling performance and convenience on the go. Setting up your new Dometic CFX for the first time is a straightforward process. This guide provides a step-by-step approach to ensure you get it right from the start, optimizing your fridge's performance and longevity.
1. Unpacking and Inspection
- Unbox Carefully: Remove the Dometic CFX from its packaging and ensure all packaging materials are removed.
- Inspect for Damage: Check the unit for any signs of damage incurred during shipping. Verify that all components, such as power cords and manuals, are included.
2. Choosing the Right Location
- Ventilation is Key: Choose a location in your vehicle or campsite where the fridge will have ample space around it for air circulation. Avoid tight enclosures as the fridge needs to vent heat away effectively.
- Stable and Level: Ensure the surface is stable and level to avoid undue stress on the unit and to ensure it operates efficiently.
3. Powering Your Fridge
- Power Source: Decide whether you will be using AC (home power), DC (car battery), or solar power. Make sure the power source is sufficient to handle the fridge’s energy requirements.
- Connecting to Power: Plug the appropriate power cord into the fridge and then connect it to your power source. For DC power, use the vehicle’s 12v outlet. For AC, plug it into any standard household outlet.
4. Securing the Fridge
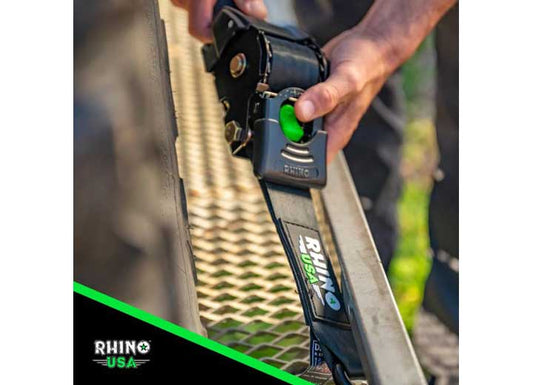
- Use Securing Points: The Dometic CFX models come with securing points for straps. Secure the fridge in your vehicle to prevent movement during transit which can cause damage.
- Check Stability: Once secured, gently shake the fridge to ensure it doesn’t move. This test will help confirm that it is safely installed.
5. Setting the Temperature
- Power On: Turn on the fridge by pressing the power button.
- Adjust Temperature: Use the digital display to set your desired temperature. For most foods and beverages, a setting between 3°C to 5°C (37°F to 41°F) is ideal.
- Use the App: If your model supports it, download the Dometic app and connect it to your fridge via Bluetooth or WiFi. This allows for remote temperature control and monitoring.
6. Testing the Fridge
- Monitor Cooling: Allow the fridge to run for a few hours before loading it with food. Check the temperature settings by verifying the internal temperature either via the built-in display or the app.
- Adjust as Needed: Based on your initial observations, adjust the temperature settings if necessary to ensure your items will be kept at optimal temperatures.
7. Maintenance Tips
- Regular Cleaning: Keep the interior clean by wiping it down with a soft cloth and mild detergent. Avoid abrasive cleaners or pads.
- Check Seals Regularly: Inspect the door seals periodically to ensure they are free from debris and are not worn out. Clean seals with a damp cloth.
- Maintain Ventilation: Regularly check and clear any obstructions from the ventilation areas to ensure effective heat dissipation.
Conclusion
Setting up your Dometic CFX refrigerator correctly is crucial for maximizing its efficiency and extending its lifespan. By following these simple steps, you can ensure your fridge is ready to accompany you on all your adventures, keeping your provisions fresh and beverages chilled. Enjoy the peace of mind that comes with having a reliable cooling solution wherever you roam.


